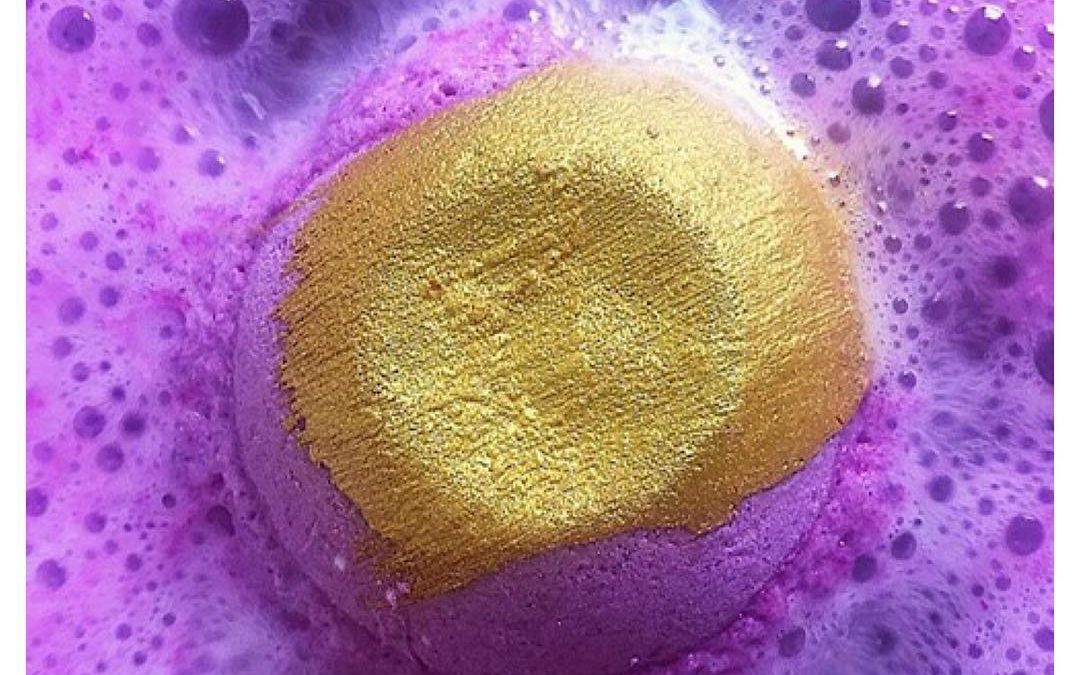
Do you remember that I introduced you to Verity from Lavaná Botanicals last week? She’s a master of bath bombs, creating beautiful balls that fizz into life when you drop them into your bath, filling your tub with light oils to soothe, essential oils to uplift and relax, and just the right amount of colourful foam that my children adore. Lavaná Botanicals bath bombs contain an array of gorgeous skin-loving ingredients, purpose-chosen essential oils and other magic ingredients like mineral micas.
Today, Verity is sharing a DIY BATH BOMBS RECIPE with you. You can use this as a basis for your own bath bomb creations, and it’s a great activity to make with the whole family; because really, school holidays are long enough as it is – fit this fun DIY in an afternoon and the next night you will have shrieks of delight from toddlers and teenagers alike.
This isn’t one of Verity’s own personal and safety assessed recipes: instead, it’s a starter recipe designed to
get you making bath bombs for fun for your own home, and to get an idea of the love, care and attention
that goes into each one. Care should always be taken when using essential oils and ensure you’re working
in a well ventilated room as bicarbonate of soda can puff up when being mixed. When your bombs have
dried and it’s time to use them, take care not to use them on broken skin, around the eyes or on very small
children.
Are you ready to get started? Here’s the recipe!
Here’s an easy recipe that is designed to be gentle on the skin, makes lovely skin softening bath bombs with no nasty chemicals and smells divine. This batch will make you approximately 6 regular sizes bath bombs or 3 large bath bombs.
Read our interview with Verity from Lavaná Botanicals by clicking here.Visit Verity from Lavaná Botanicals on instagram by clicking here.And finally, find the Lavaná Botanicals shop here.